


I find your lack of miniatures disturbing.
*This is a review of the Star Wars Bandai droid set, with deboxing, assembly and final product pictures and comments. Keep in mind you can click all pictures for a better look!*

This little guy is just about the most adorable non-fluffy thing I've ever seen.
So, I was, just like a lot of people, absolutely inlove with BB-8 after watching Star Wars VII - The Force Awakens.
I always liked R2-D2 (Not a huge fan of C3-PO, he was more of the comic relief than anything else), so when I saw BB-8 i was in awe.

Come oooon wake uppp!
After much looking and researching, I decided to buy the Bandai miniature model kit from eBay.
Part of me wanted the App-Enabled BB-8, but upon thinking, I realized It was way too expensive with the import fees, and I would probably play with the thing for 2 days and it would end up sitting in a shelf.
So since it's gonna stay on the shelf, why not get a nice up-to-scale miniature set that includes both my favorite droids, and has a lot of extra changable props?

Official Bandai box cover
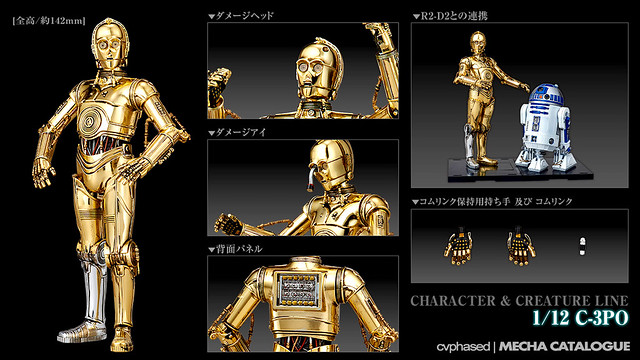
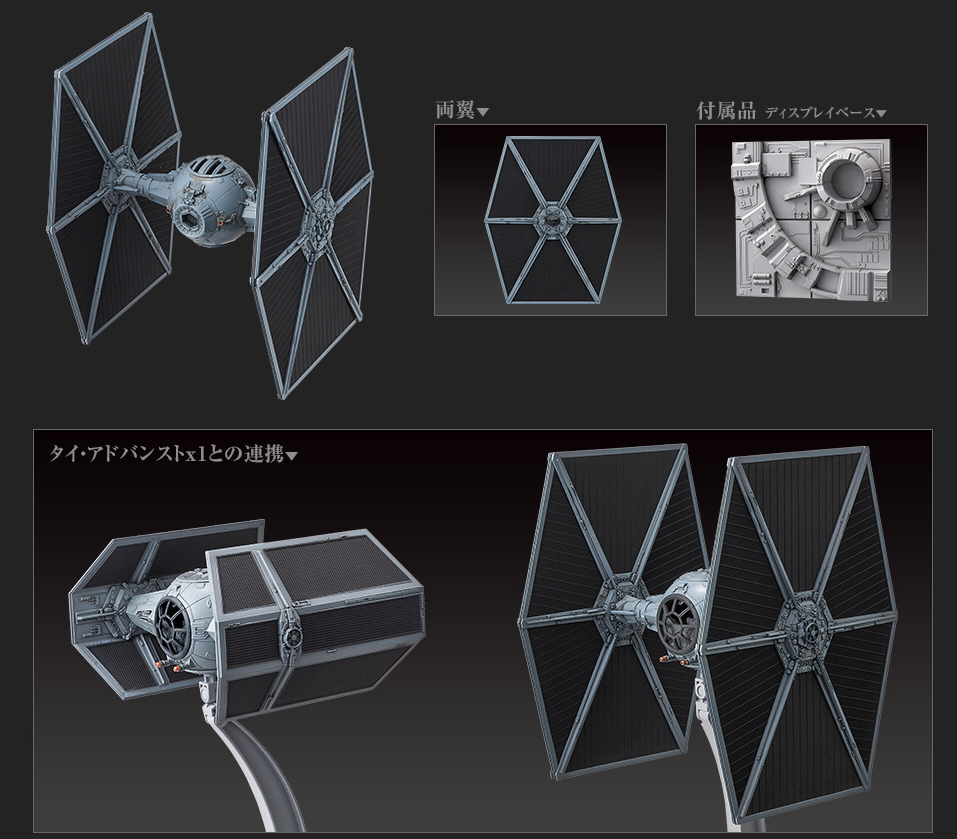
Bandai is already famous for its many plastic model kits. They have dozens of Star Wars designs, amongst other brands. They even have a full chromed C3-PO, a TIE stormtrooper ship, and many other awesome models.

Offficial Bandai picture of the miniatures toghether.
Well, let's get to the point!
I ordered the kit on December 27, and it came straight from Japan to Brazil, and arrived literally yesterday (Jan 29th). They are 1/12 scale models.

The pieces come wrapped in plastic, so if one of them unclips accidentally, it won't get lost or go loose in the box.


Box comes with the stickers, water stickers, instruction, and the unclipped pieces.


The instructions, altough in japanese, are in its majority very visual and the writings are not vital to the assembly at all.
The pieces come labelled by number, and each set of pieces is branded with a letter (A1, B2, etc). So it's acually very easy to follow up.


If you look up close you can see the numbers and letters.
It took me roughly 3 hours to assemble both pieces. Bare with me, I had never assembled miniatures before, and I wanted to make sure the clippings were neat.

My weapons of choice were: A bodkin, a cuticle plier, and a thin-tip plier.
I also end up using some thin-tip tweezers to apply the stickers, and a bit of gel glue (super bonder) to attach 3 stubbon pieces that wouldn't stick to the models. I mostly used the cuticle plier to cut some pieces loose, specially the ones who felt too fragile or too small to just yank out. But most pieces are pliable by just pushing and twisting. Then you gotta remove the trims with the plier or the blade so the piece fits inside the sockets.
Assembling BB-8
I started by assembling BB-8. He is actually much simples to assemble than R2D2, because R2 has a lot, lot of details and differenc colored pieces.


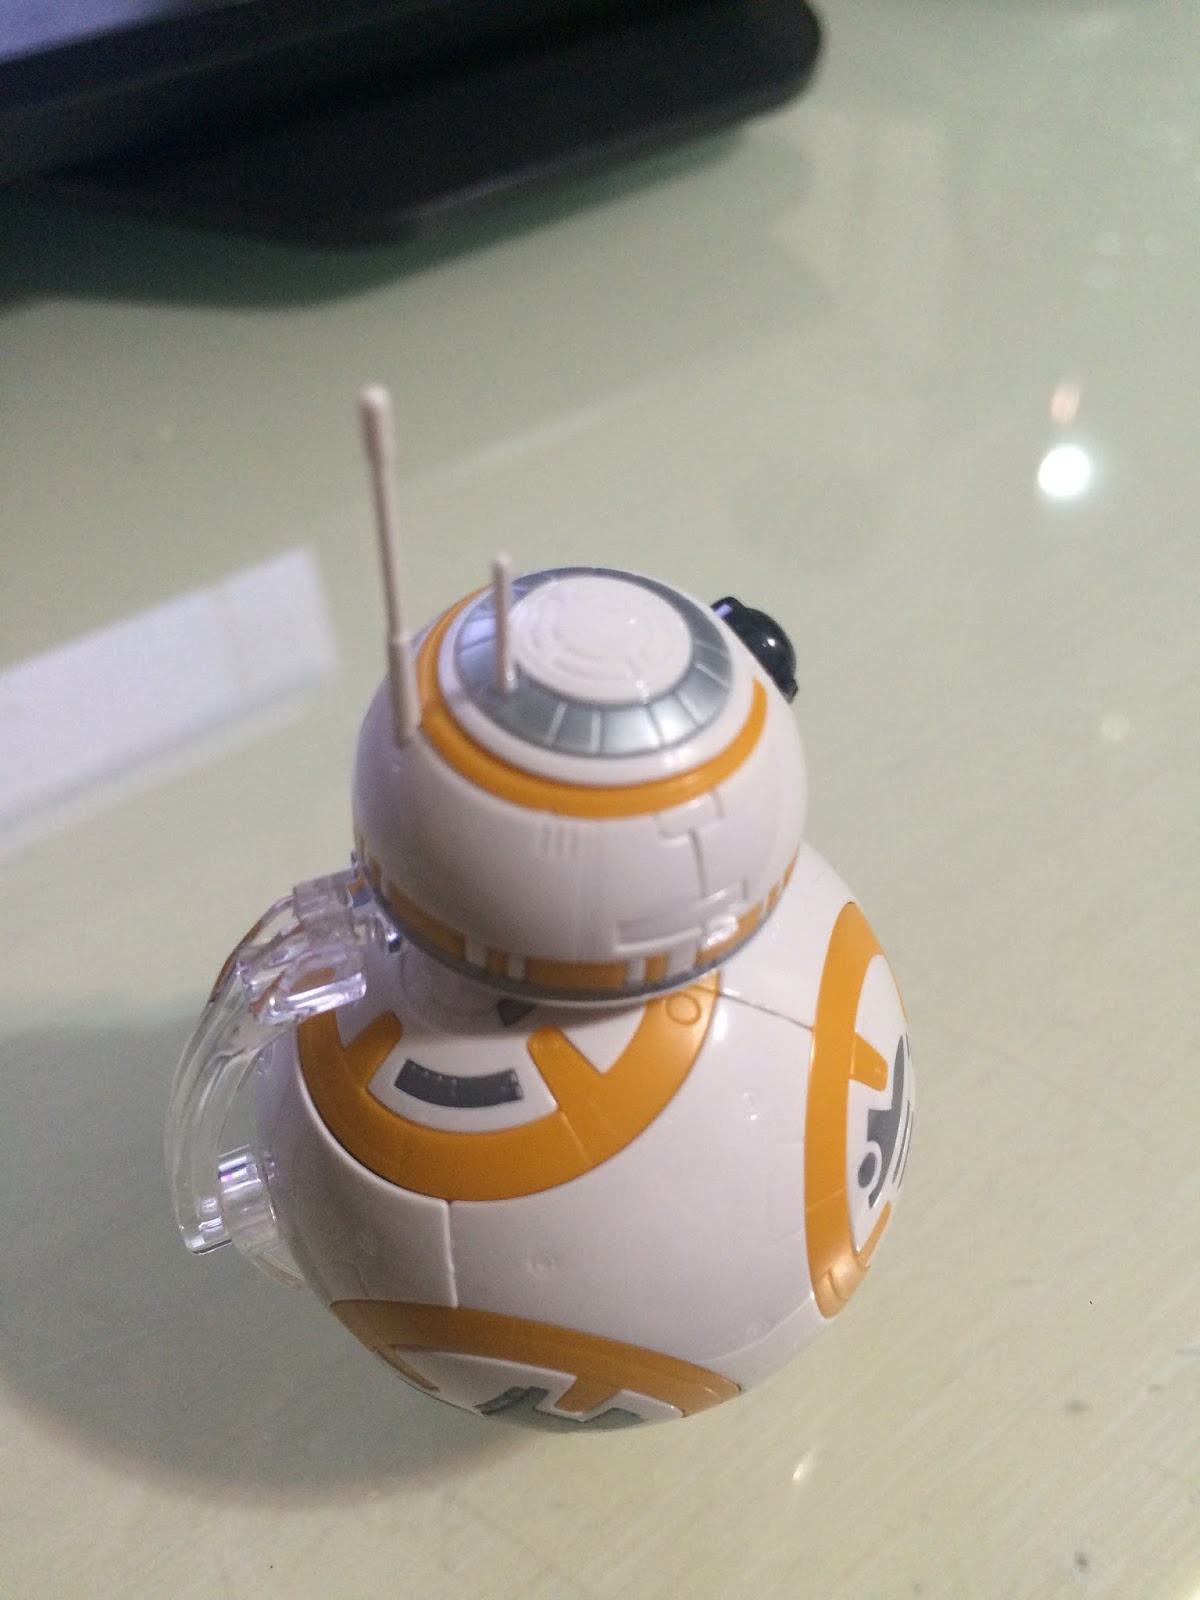
Instructions tell you to start with the head, and it's pretty simple.
My favorite part is his eyes/camera lens. They are made of actual clear black plastic, so the light reflects on them very nicely. Most fragile part is the antennas, and he comes with two pairs for backup. I actually broke one of the small ones...
In the end, I glued the antennas in, because even if they fit into the sockets, they stay a bit wobbly.


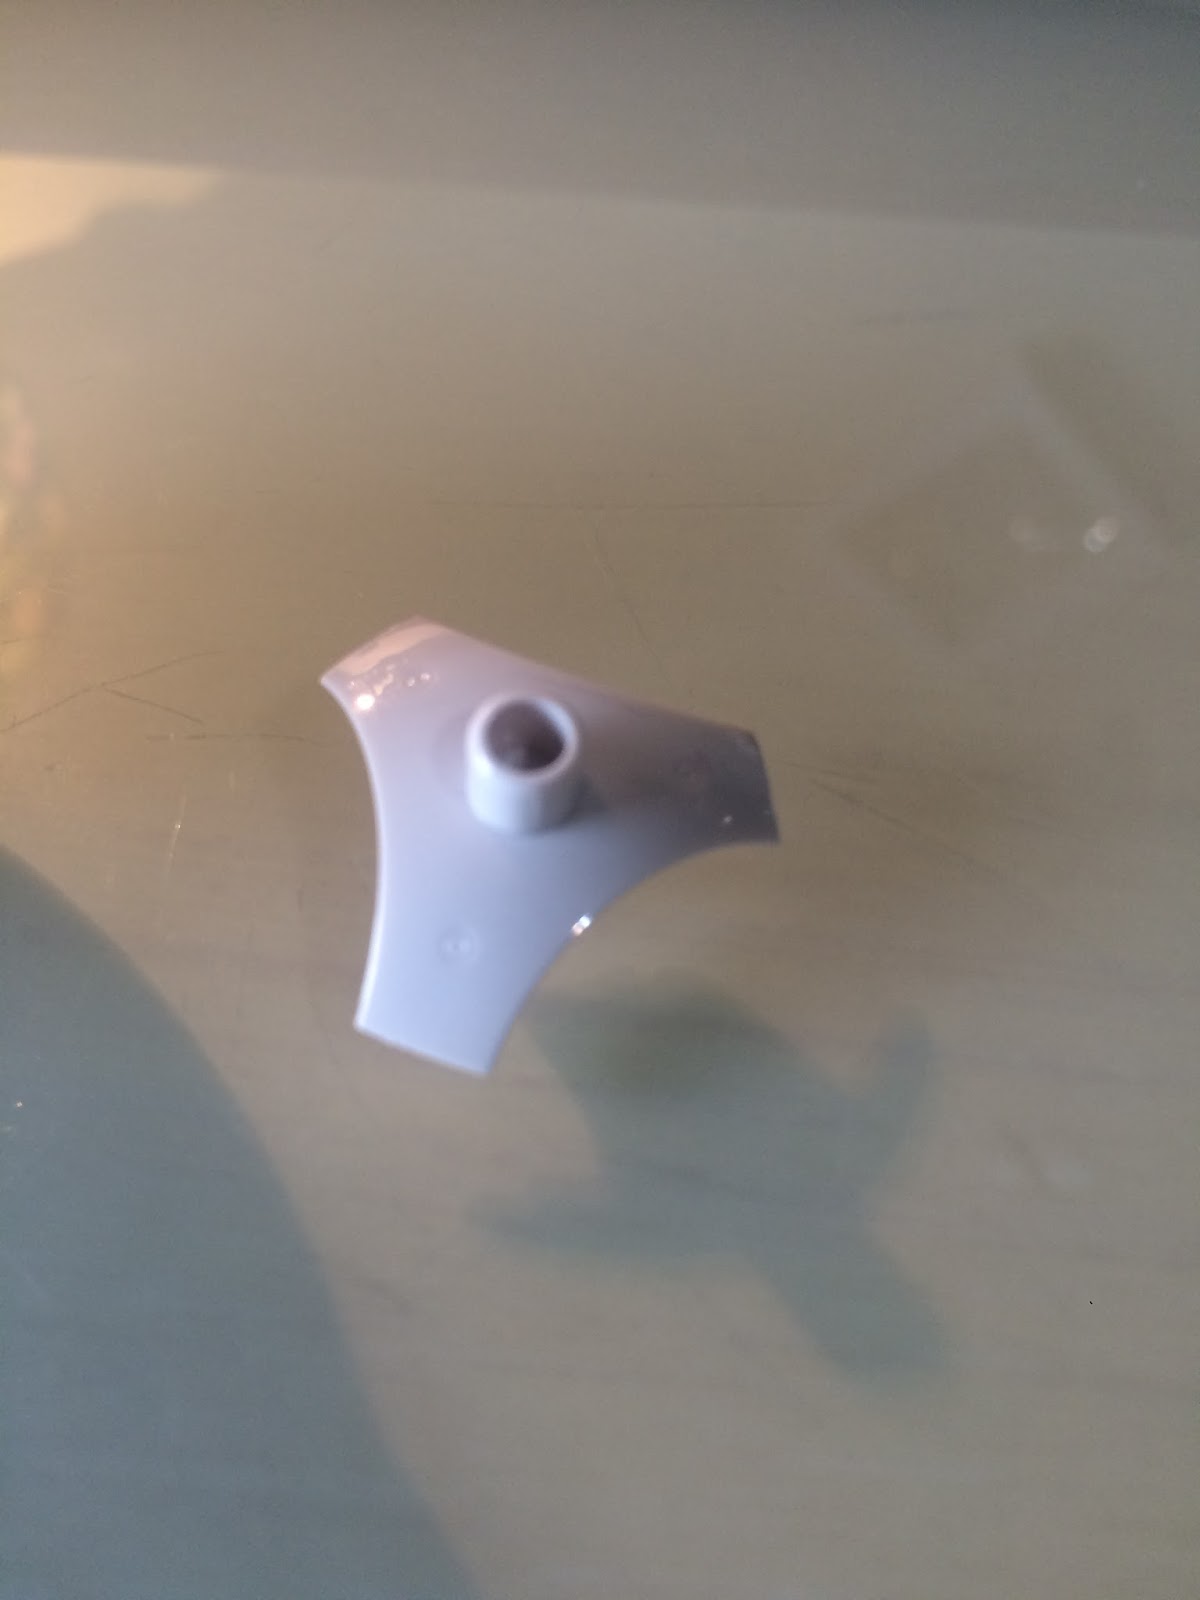
What's really interesting with the body is it's almost as if you're building the actual thing. You get a cube-like silver center - which feels a lot like an engine block - and then you build the spheres and attach them to the block.


Each sphere is different, and some of them have sockets to add extra stuff - I'll show them soon.


After attaching the orange spheres, you get either Y shaped or H shaped white pieces to add inbetween them, so his body is complete.


Bandai gives you two options of stand. You can either put his head in that acrylic support, which allows you to pose him around, or you change one of the Y white pieces in his body for one with a pin, and put his head there. Either way, you will need at least the clear circle base, othwerise he will just roll away into oblivion.

Now, my favorite part about the Bandai miniatures is that they come with the droids gadgets.
BB-8 comes with 3 gadgets: The lighter, the shock arm, and the tray where he carries the map to Luke Skywalker.


For every gadget, there is a different location in the body, and a different port that opens up. You actually switch the port so it looks like it's popped open.


I actually forgot to take a picture of the shocket arm, but it looks a lot like the lighter arm, just with a longer, straighter tip, and points down instead of upwards.
There are no mandatory stickets to put on BB-8, but the kit comes with a lot of them to glue where his lights would turn on. I didn't apply them yet, and not sure if i will. He feels pretty complete - and adorable - just like this.
Assembling R2-D2
Since the miniatures are up-to-scale, R2-D2 is taller than BB-8. while BB-8 is about 6 or 6,5 centimeters tall, R2 hits almost 9 cm tall.
His body is also way more detailed, since his head has a lot of parts, his body has a lot of vents and hatches, and he has three legs with hinges tubes and even wires.


Just like BB-8, instructions start with the head.


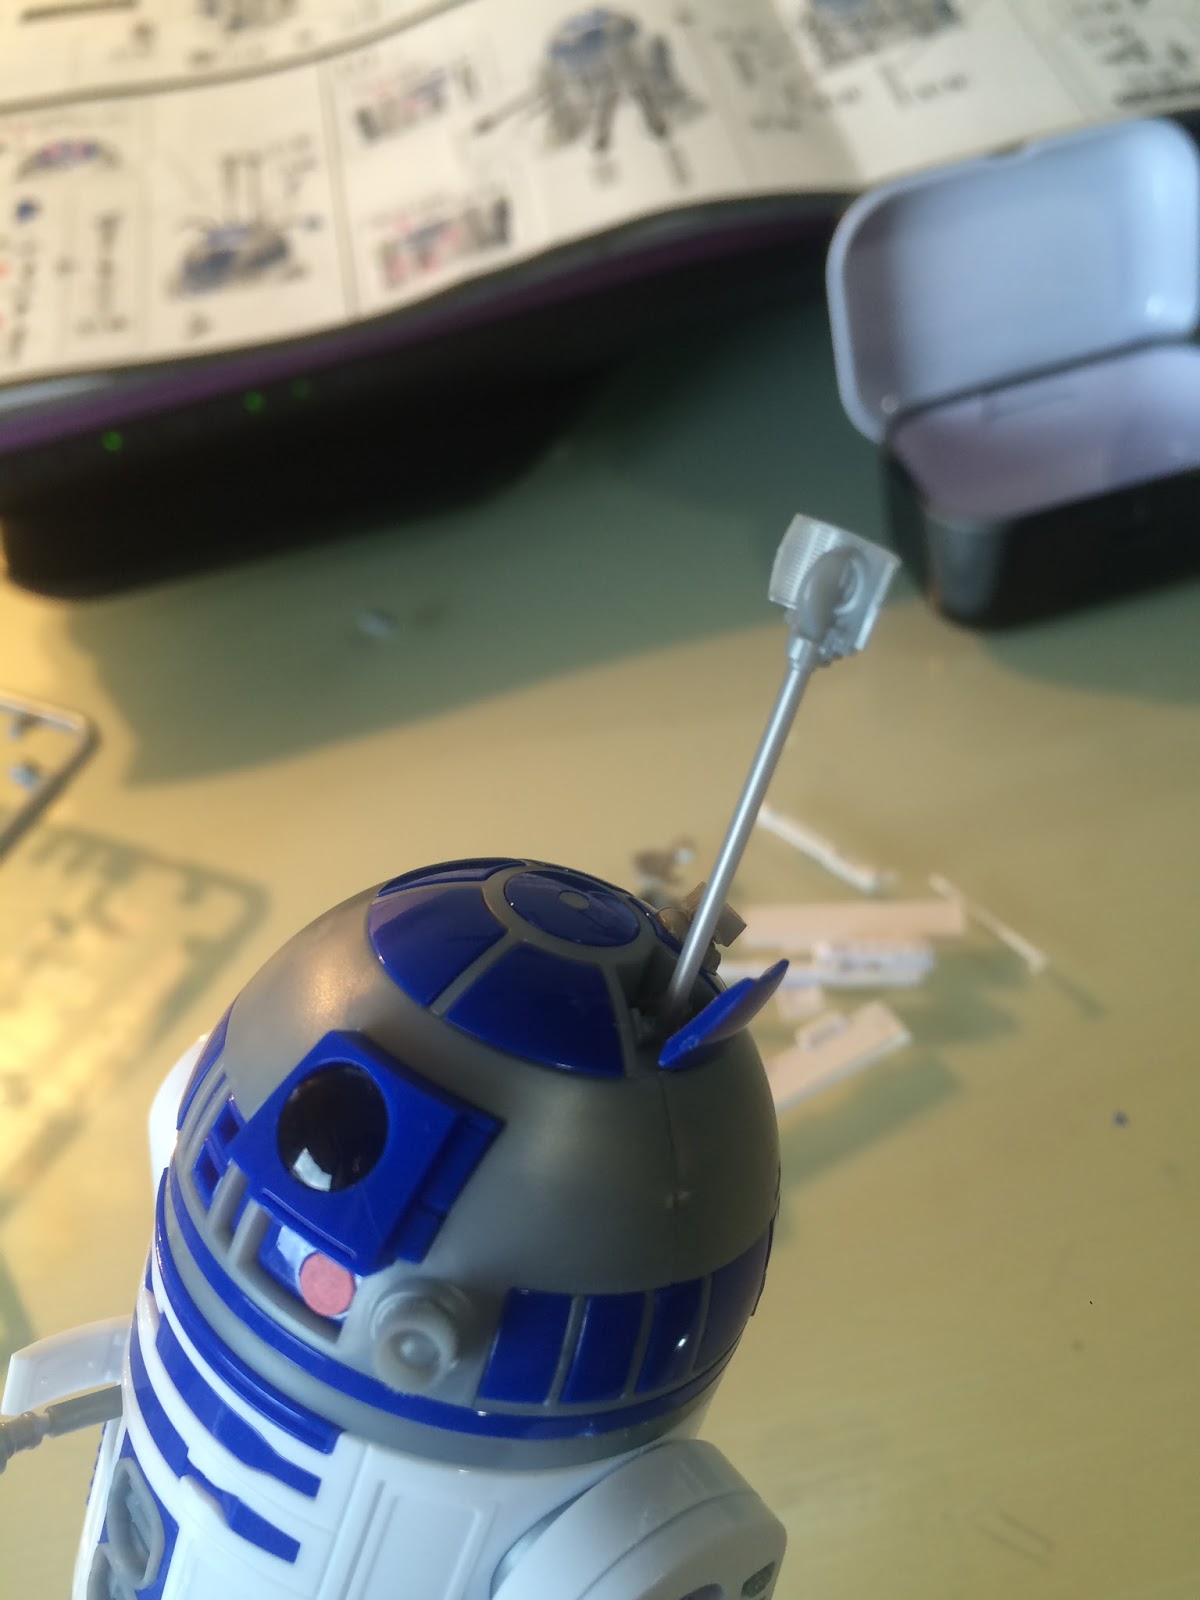
One of those blue pieces kept faling off, but two of them are axchangable because gadgets come out of them. Gladly, it wasn't the stubborn one, so i just trew in a couple drops of glue and it finally stayed (after a lot of minimallistic rage).
The red spot (representing the light that blinks on the actual droid) is a sticker, not a plastic piece.
Up next are the legs, and they have a ton of tiny little pieces. They are assembled in layers, which is quite interesting because some of the elements won't pop until all the layers are combined.


The whole of R2-D2 moves, and the legs are no exception. The "ankles" move back and forth, and so will the joints that attack the legs to the body.


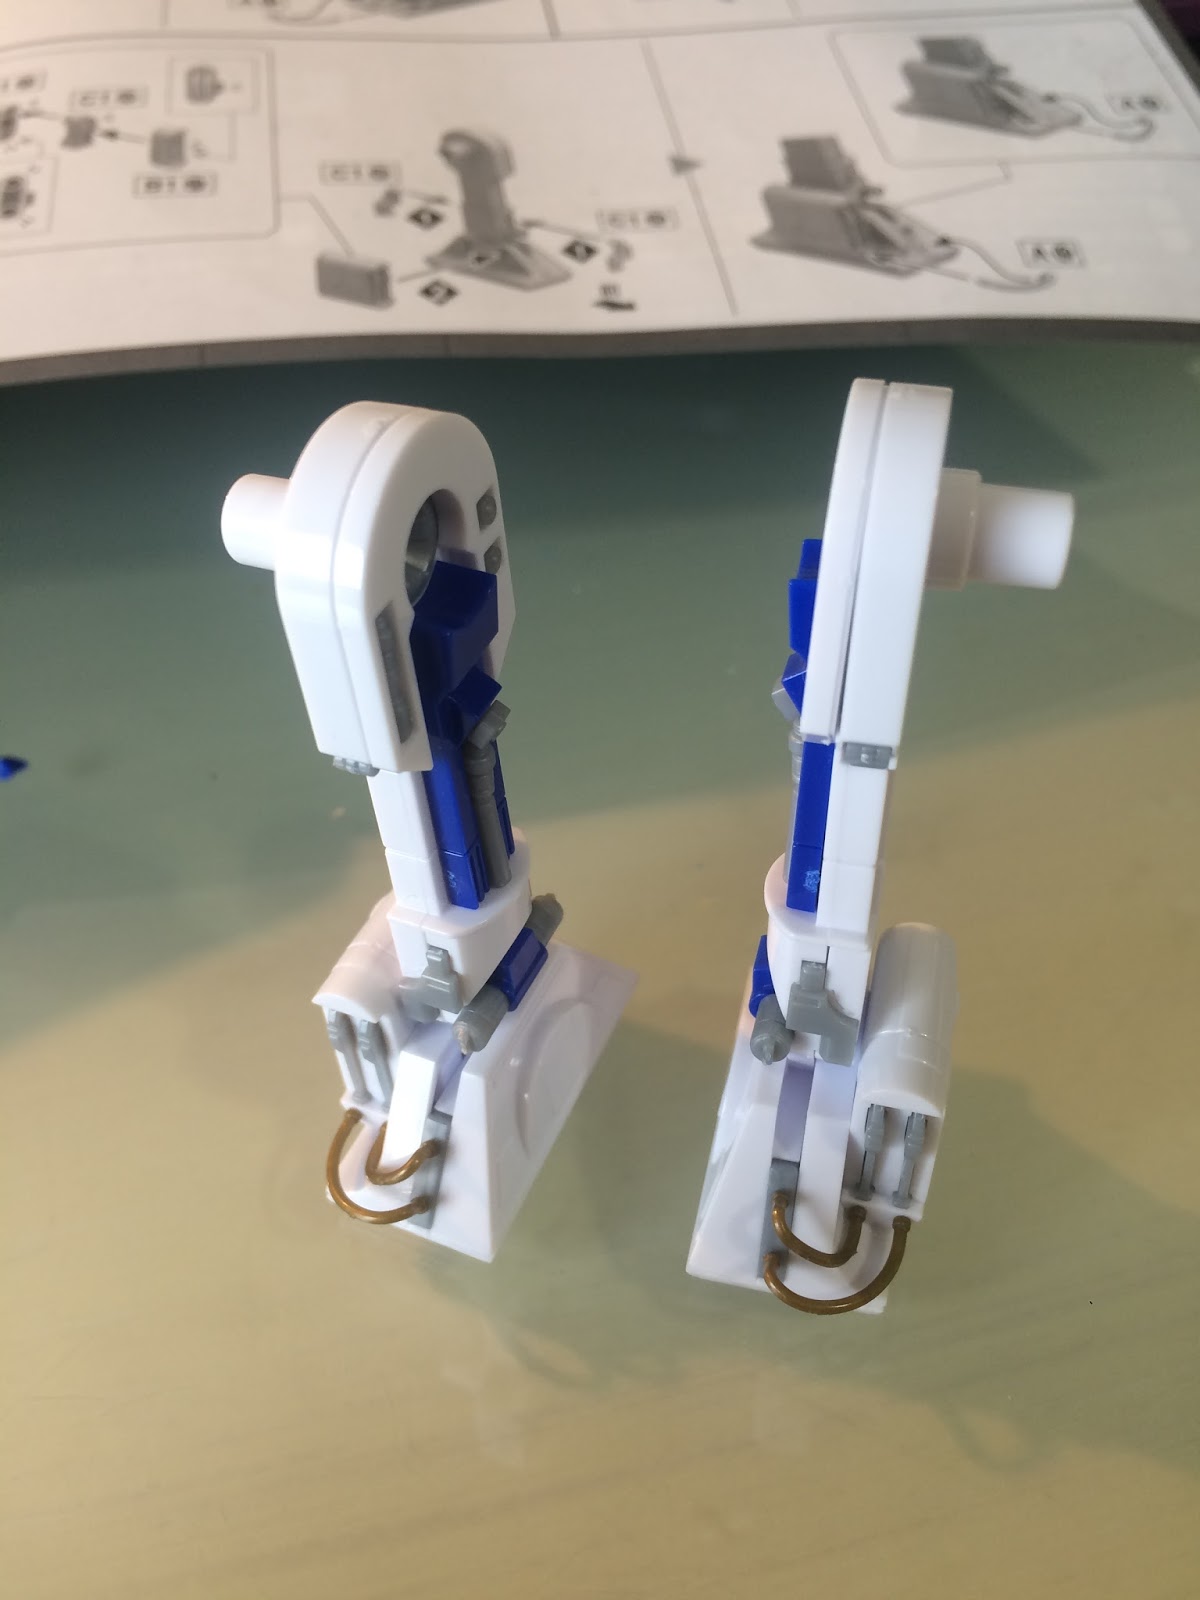


Legs and head done!
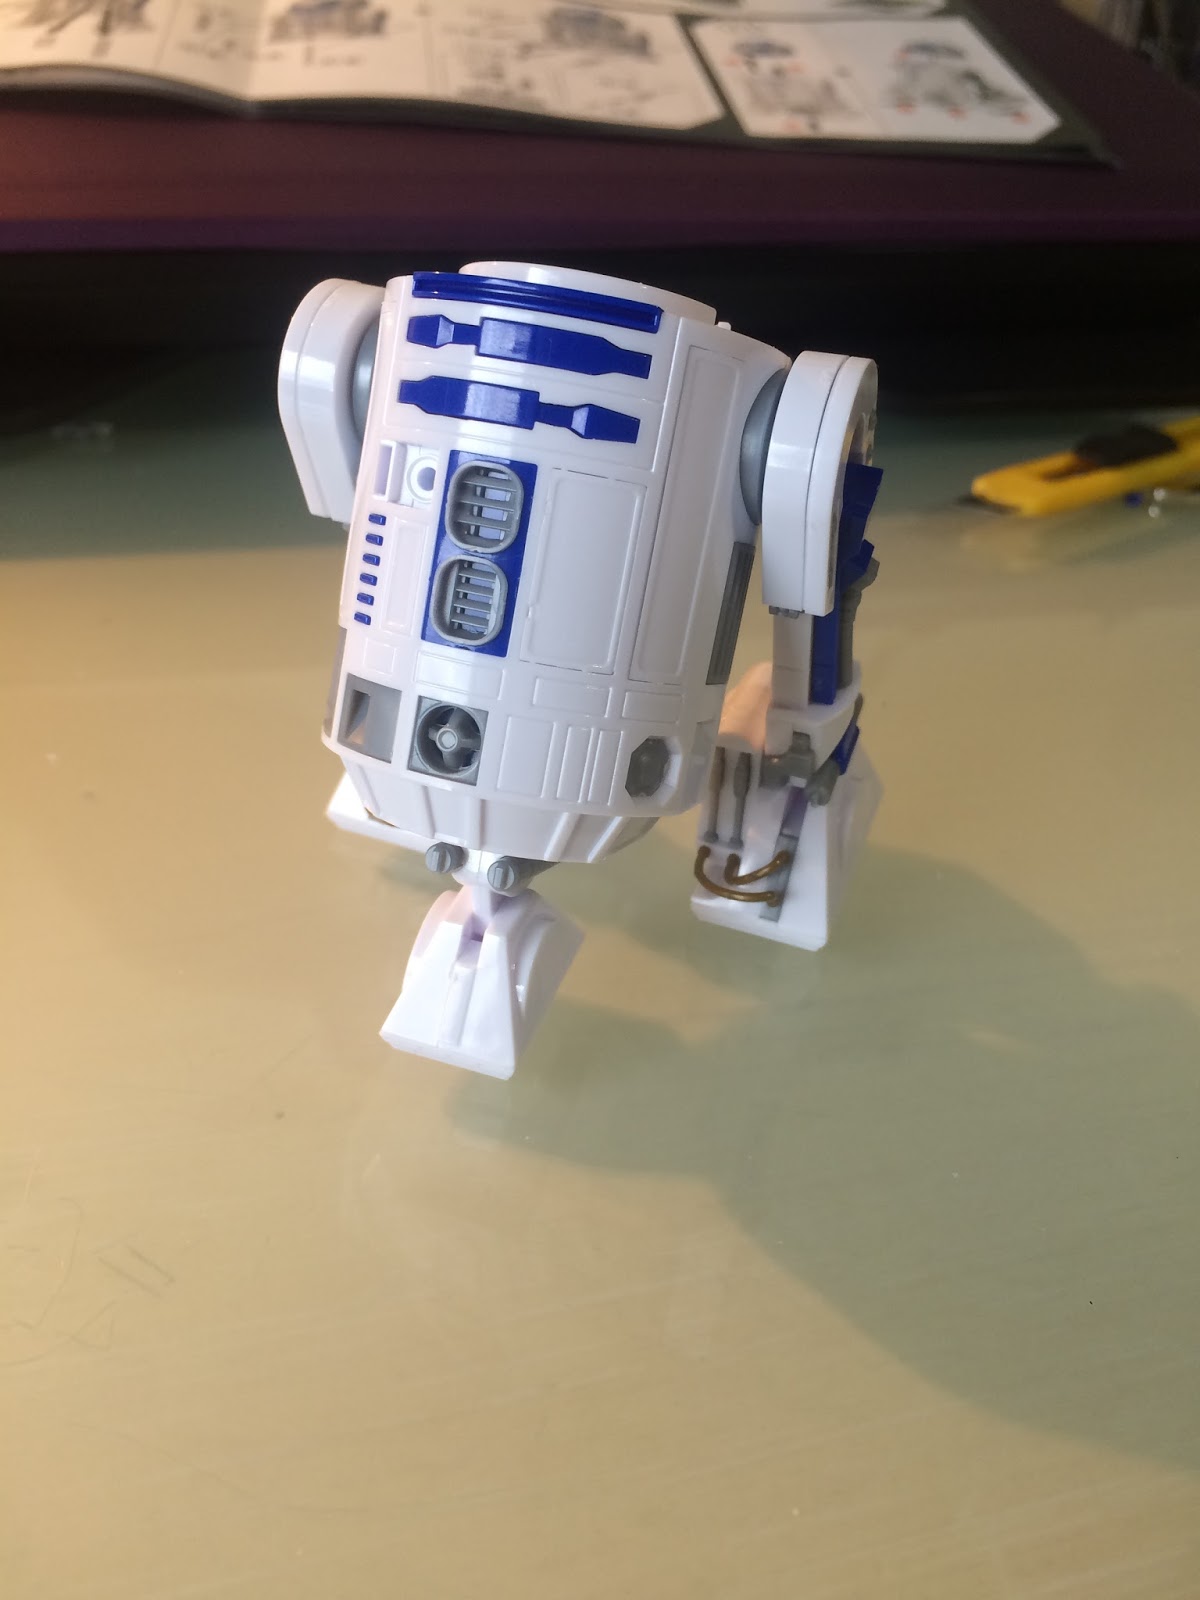
Moving on to the body.


Now, one intersting thing about the body is: The third leg is inbuilt. You push the square on the top to pop the 3rd let out, or just keep it inside. You do have to take his head off for it.


Now, adding up the head!


R2-D2 has a LOT of gadgets. He has roughly 6 of them, on the head and on the hatchets.

He's got the little chainsaw (C1-4), a claw (C1-2), a camera, a radar, a shock rod (B1-8 + A 13), and the connector he uses to "hack" the Deathstar in episode II (C1-3). And also a thing I can't really recognize (C1-1), but looks like another claw.
Here are the gadgets irl:


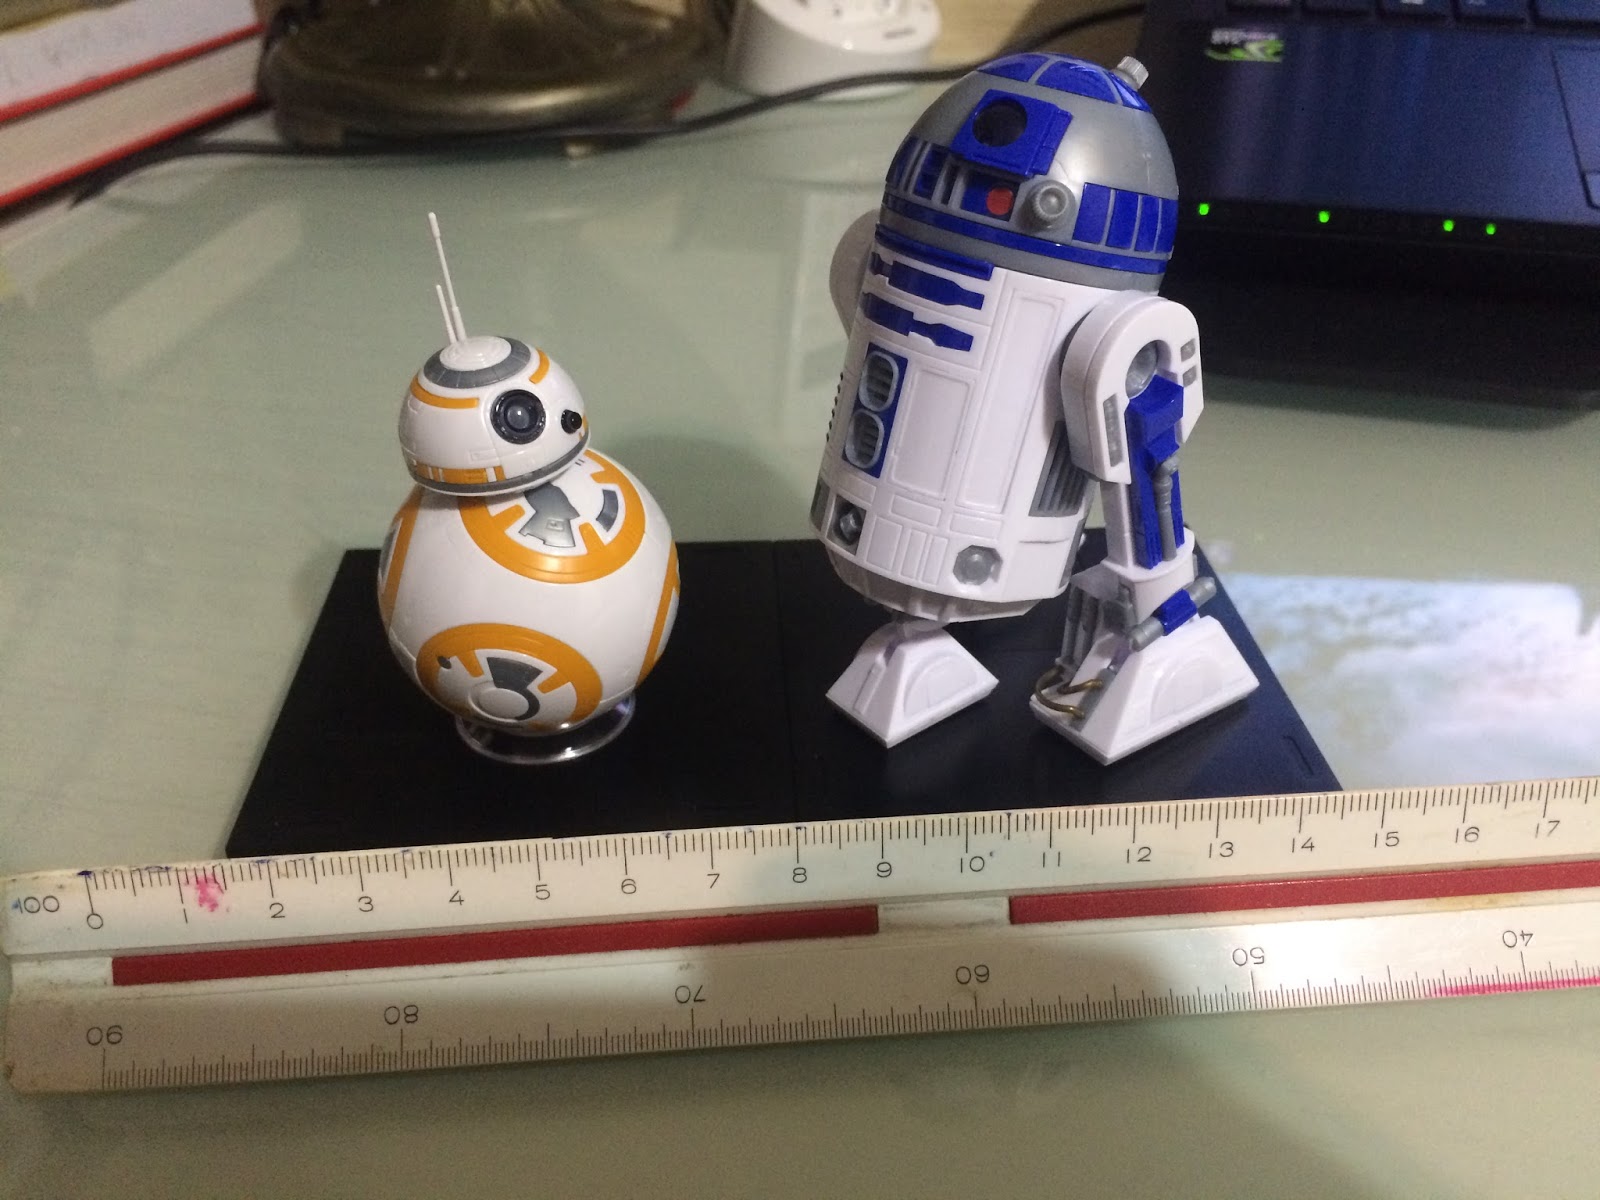
That's it, both droids done!

They also both come with a square black base each, that can be connected to become one whole rectangle.
Also, here's pics so you have an idea of their sizes. The ruler is in centimiters.


I really really like them. Some people complained that they don't have all the details of the movie ones, but it's pretty much because the movie ones or other available miniatures are sort of dirtyed-up. It's an option to paint them for the effect, byt I myself like them as they are, shiny and new, clean and neat.

I hope you guys enjoyed the post, and that it wasn't too long or exaustive.
By the way, The Fwoosh channel has a very nice, long video explaining how to assemble them both. Each droid, however, is on a separate video: BB-8 Video / R2-D2 Video

Who ARE you two?! Oh my god, did Wheatley send you?!
(PS.: Chell is from NECA figures, not related to Bandai. I've had her for over a year now ^^)
May the Force be with you all!